Saturday 5 October 2013

Pad stitching the lapel #1


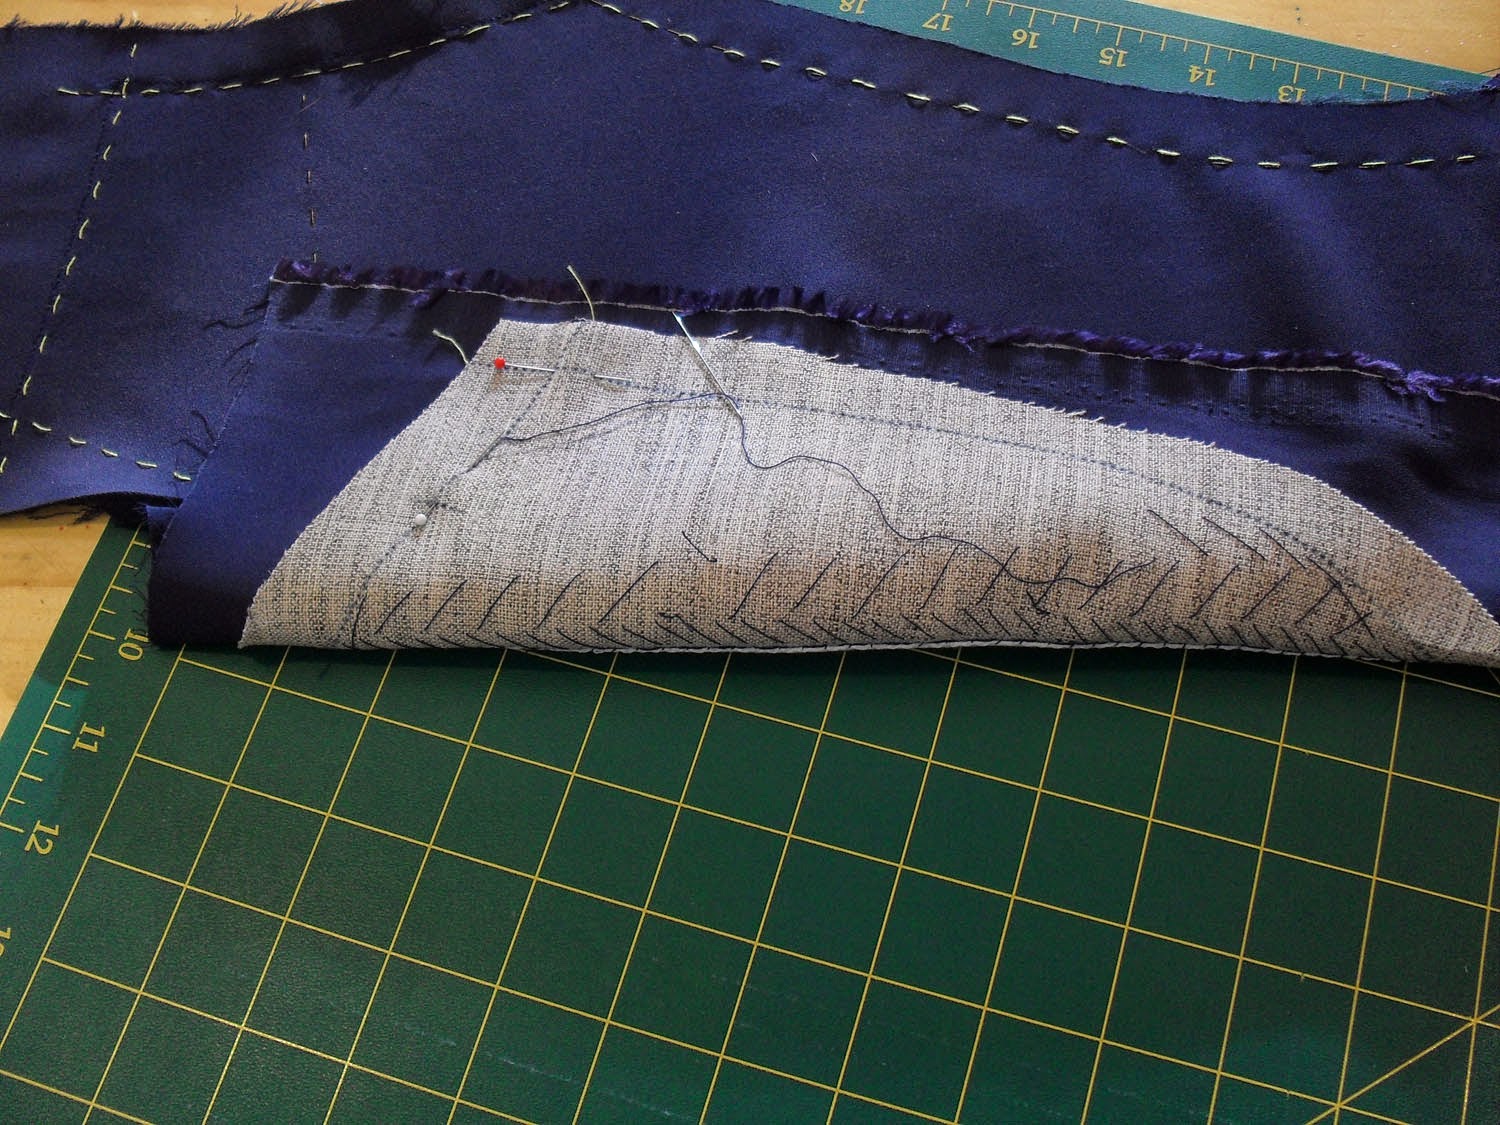
Working paraelle to the roll line and holding the laple draped over your other hand pad stitch a row of 1/4 inch stitches.  Pad stitch further rows at 1/2 inch and leave the marked triangular tip of the lapel for very small pad stitches.

End of the day - finish lapels tomorrow.
 

Secure hair canvas


Baste armhole and side seam to hair canvas with silk basting thread.  Catch stitch pocket opening to fashion fabric using catch stitch then cover with a bias strip of silk organza secured with small running stitch.

tape roll line


Stitch using uneven basting along the roll line using silk basting thread ensuring you only catch a thread of the fashion fabric when stitching through hair canvas.

Cut a length of twill tape 10mm shorter than the roll line and pin ends to end of roll line.

Smooth out to distribute ease evenly and catch stitch tape in place again ensuring you only catch a thread of fashion fabric through hair canvas.   Fell stitch along the edges to hold them down nice a flat.

Attach hair canvas to front


Cut out dart in hair canvas and line up edges with stitchline of dart on fashion fabric.  Catch stitch hair canvas to dart at stitchline.


sholder dart


Baste shoulder dart using silk basing thread and sew on machine using 2.5 stitch length.  Remove all basting and press to the sholder side.

Bound button holes part 2

 
Cut 5 patches 2.5 x 3 inches to make lips and pin right sides together over the marked and interfaced button holes.
 
 
On the interfacing side stitch around the window using 1.5 stitch length on the machine.
 
 
Cut along the center line of the buttonhole and into the  courners of the rectangles.  Form lips of buttonholes and pin in place.  Hand stitch in the ditch all around the outside of the buttonhole and whip stitch lips together with silk basing thread.
 
 
Trim off the excess fabric around the buttonhole and lightly steam and pat with hand to flatten.

Friday 4 October 2013

Bound buttonholes part 1

 
Small rectangles of fusible interfacing were used to stabilise the areas on the right front piece (shown) and the cuffs.  I do not own pinking shears but I did not want a ridge to show through to the front side of the jacket so I cut a zig zagged edge using embroidery sissors.


button hole windows were marked at 1/8th inch longer than actual buttons.  Lips were 1/8 th inch wide, making the whole window 1/4 inch wide.

I am going to leave finishing the buttonholes until tomorrow morning when I am fresher as I do not want any mistakes.